 Walking around the local Megalomart produce section in the depths of a rainy West coast winter is a real lesson in our dependency on other places for our food. Yeah, I’d love to eat strawberries, tomatoes and mangos all year long, but the costs (financially and environmentally) of supporting the industrial mega-greenhouses of Mexico, Argentina and China outweigh my base cravings.
So I obsessively scan the “Product Of…” signs, hoping to hit something Canadian, or better yet, from our own backyard. Drives my wife freakin crazy!
These local eats are often hardier root veggies, or tough fibrous greens that look a bit scrubby next to piles of supermodel red peppers and dragonfruits. The kind of tubers, berries and brassica that need a little bit more processing to be as tender and sexy as the subtropical stuff.
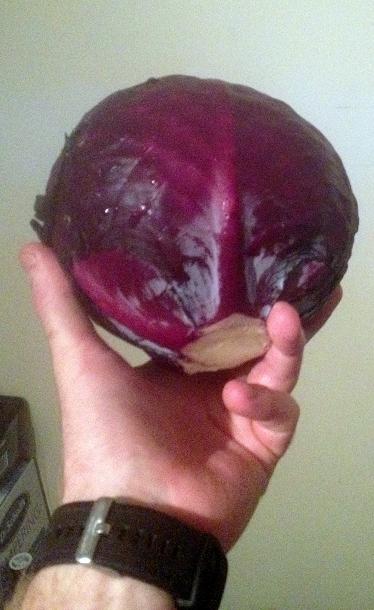
Take, for example, the humble, nutritious and nearly indestructible red cabbage. Kaboom! Look at the bowling ball I bought, grown right here on Vancouver Island. This dense mass of vegetable goodness has kept generations of Canadians, Irishmen, Scots, Nords, Koreans, Japanese, Russians and anyone else from above the equator fed during the bleak months since time immemorial.
 The only problem with such a goldmine of vitamins is that to mine it, you must sacrifice most of its texture and flavour just to eat it.
But don’t lose heart cabbage lovers! All two of you! Every one of the northern peoples that I mentioned above learned early on that one of the best ways to break down a lumpy chunk of greenery (or in this case: redery) is to either pickle it, or ferment it. Sauerkraut, Kimchi, Kupus, Tsukemono and Zuurkool are all basically just salted, crushed, booze-up and slightly-rotten cabbage jarred and left for days and months to transform into something more than the sum of its leafy parts.
 Unfortunately I’ve got a small house and a very curious cat, so long-term fermentation projects are off the table until I can think of a new hiding place (oh, my poor prosciutto). A much simpler salting and pickling process is in order. All you need is salt, a saucepan, a sealable jar, vinegar and a handful of cabbage’s best buds from the garden.
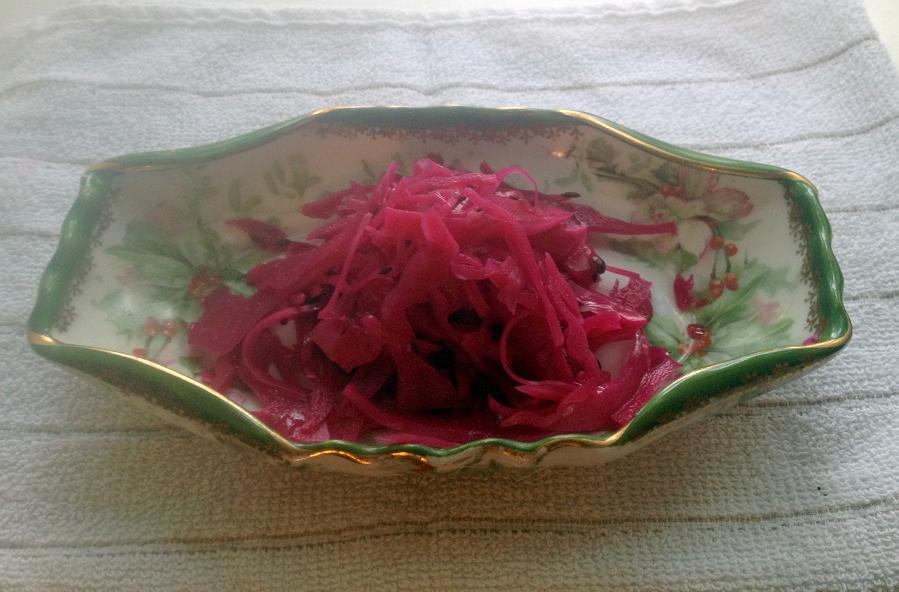
This is the kind of project I tend to undertake during this time of year, only to thank my foresight later in months. Pickled cabbage (and onions!) are the perfect addition to any BBQ dish, whether it be tacos, hot dogs, burgers, antipasto plates or whatever the hell your nibbling on while you enjoy the May-June sun and a nice glass of Ortega. And yes, it should last in a well-sealed mason jar that long… In fact, leave it for a couple weeks before you try it so the flavours fully develop.
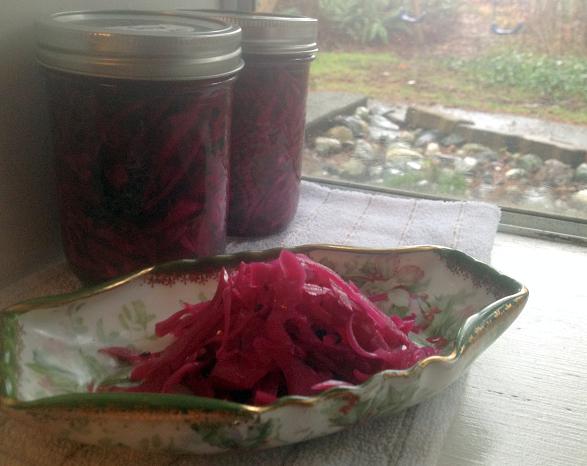 Pickled Red Cabbage (Makes enough to fill 3 large Mason jars, or 4 medium ones)
Ingredients
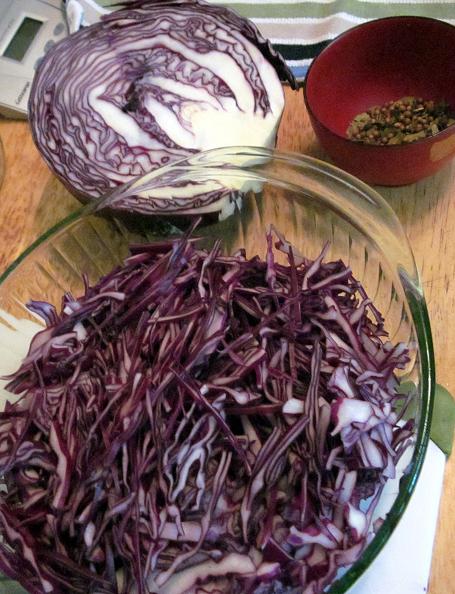
- ½ Large Red Cabbage (600g, cored and finely sliced)
- 2 Tbls. (20g) Coarse Salt
- 1 Tbls. Caraway Seeds
- 1 Tbls. Fennel Seeds
1 Tbls. Black Peppercorns - 2 Dried bay Leaves (Torn up)
- 2 cups (475ml) Apple Cider Vinegar
- 1 ½ cups (350ml) Water
- 1/2 cup (120ml) Hard Apple Cider
- 3 Tbls. (45g) Sugar
Method
- Dump all the finely sliced cabbage into a big, non-reactive bowl and mix in the salt. Really get your fingers in there and make sure it’s evenly distributed. Cover with plastic wrap and let sit in the refrigerator overnight. When you remove the cabbage the next day it should have a slightly wilted look to it (the salt has broken down some of the fibres) and a vastly increased reddish colour. Coolness! Now give the cabbage a light rinse to remove excess salt and drain well.
- Cleanse and sterilize your Mason Jars and lids in boiling water according to the manufacturer’s directions and set ‘em aside on a clean, dry surface. Pack the cabbage and dry spices into the jars, leaving just a little space near the rim.
- Heat the remaining ingredients up in a medium saucepan until simmering. The sugar will dissolve and the liquid should be clear. Carefully pour the still-hot liquid into the jar, filling it to about ½ inch from the rim.
- Expel any air bubbles in the jar by running a couple of clean wooden chopsticks between the vegetables and jar. Wipe the rim of the jar with a clean, damp cloth and slap on the lid. Leave the jars to pickle at room temperature for at least a day or two (but preferably a week!) before opening. Remember that a properly sealed lid is depressed in the center and wont leak if the jar is flipped upside down. Any open jars should be transferred to the fridge.
 Music To Pickle To:
D’Angelo and The Vanguard – Black Messiah
(Pick it up Here @ Amazon)